Make your own cardboard planisphere
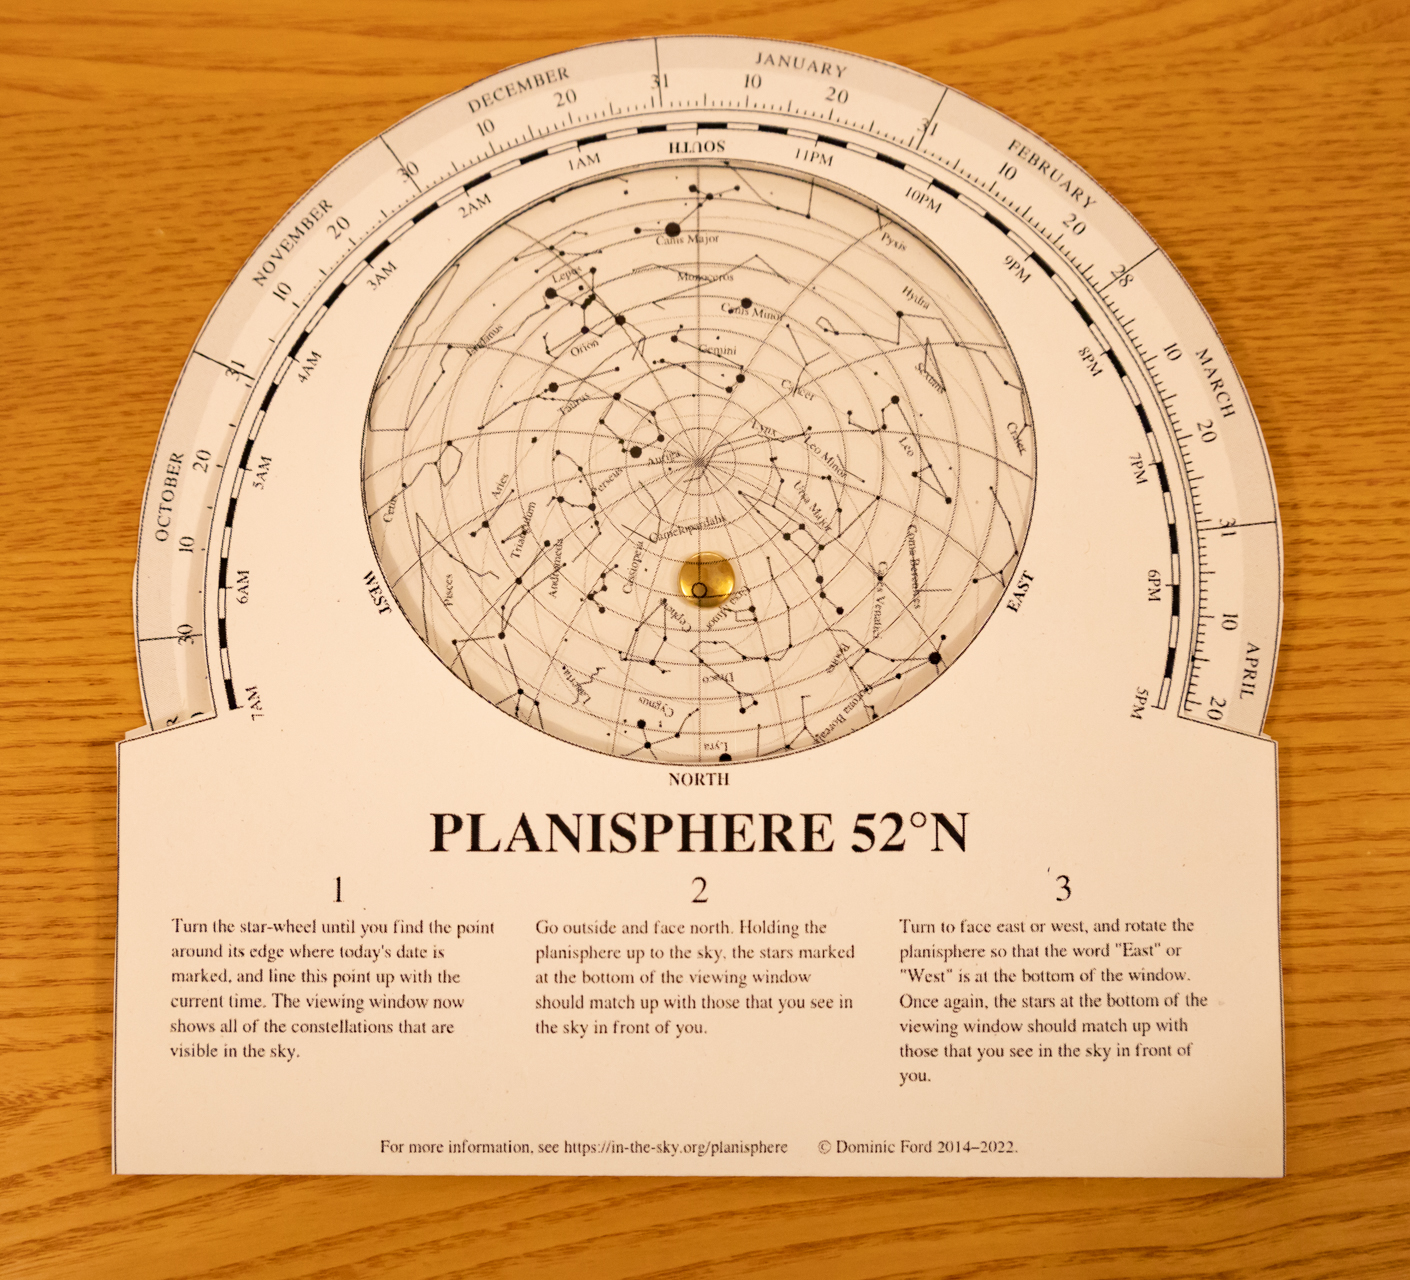
A planisphere is a simple hand-held device which shows a map of which stars are visible in the night sky at any particular time. By rotating a wheel, it shows how stars move across the sky through the night, and how different constellations are visible at different times of year.
On this web page, I present a kit which you can download and print to make your own planisphere out of paper or cardboard.
Download your planisphere
The design of a planisphere depends on the geographic location where it is to be used, since different stars are visible from different places. I have created kits for use at a wide range of latitudes, and you should use the form below to download the kit that most closely matches where you live.
Building your planisphere
Assembly instructions

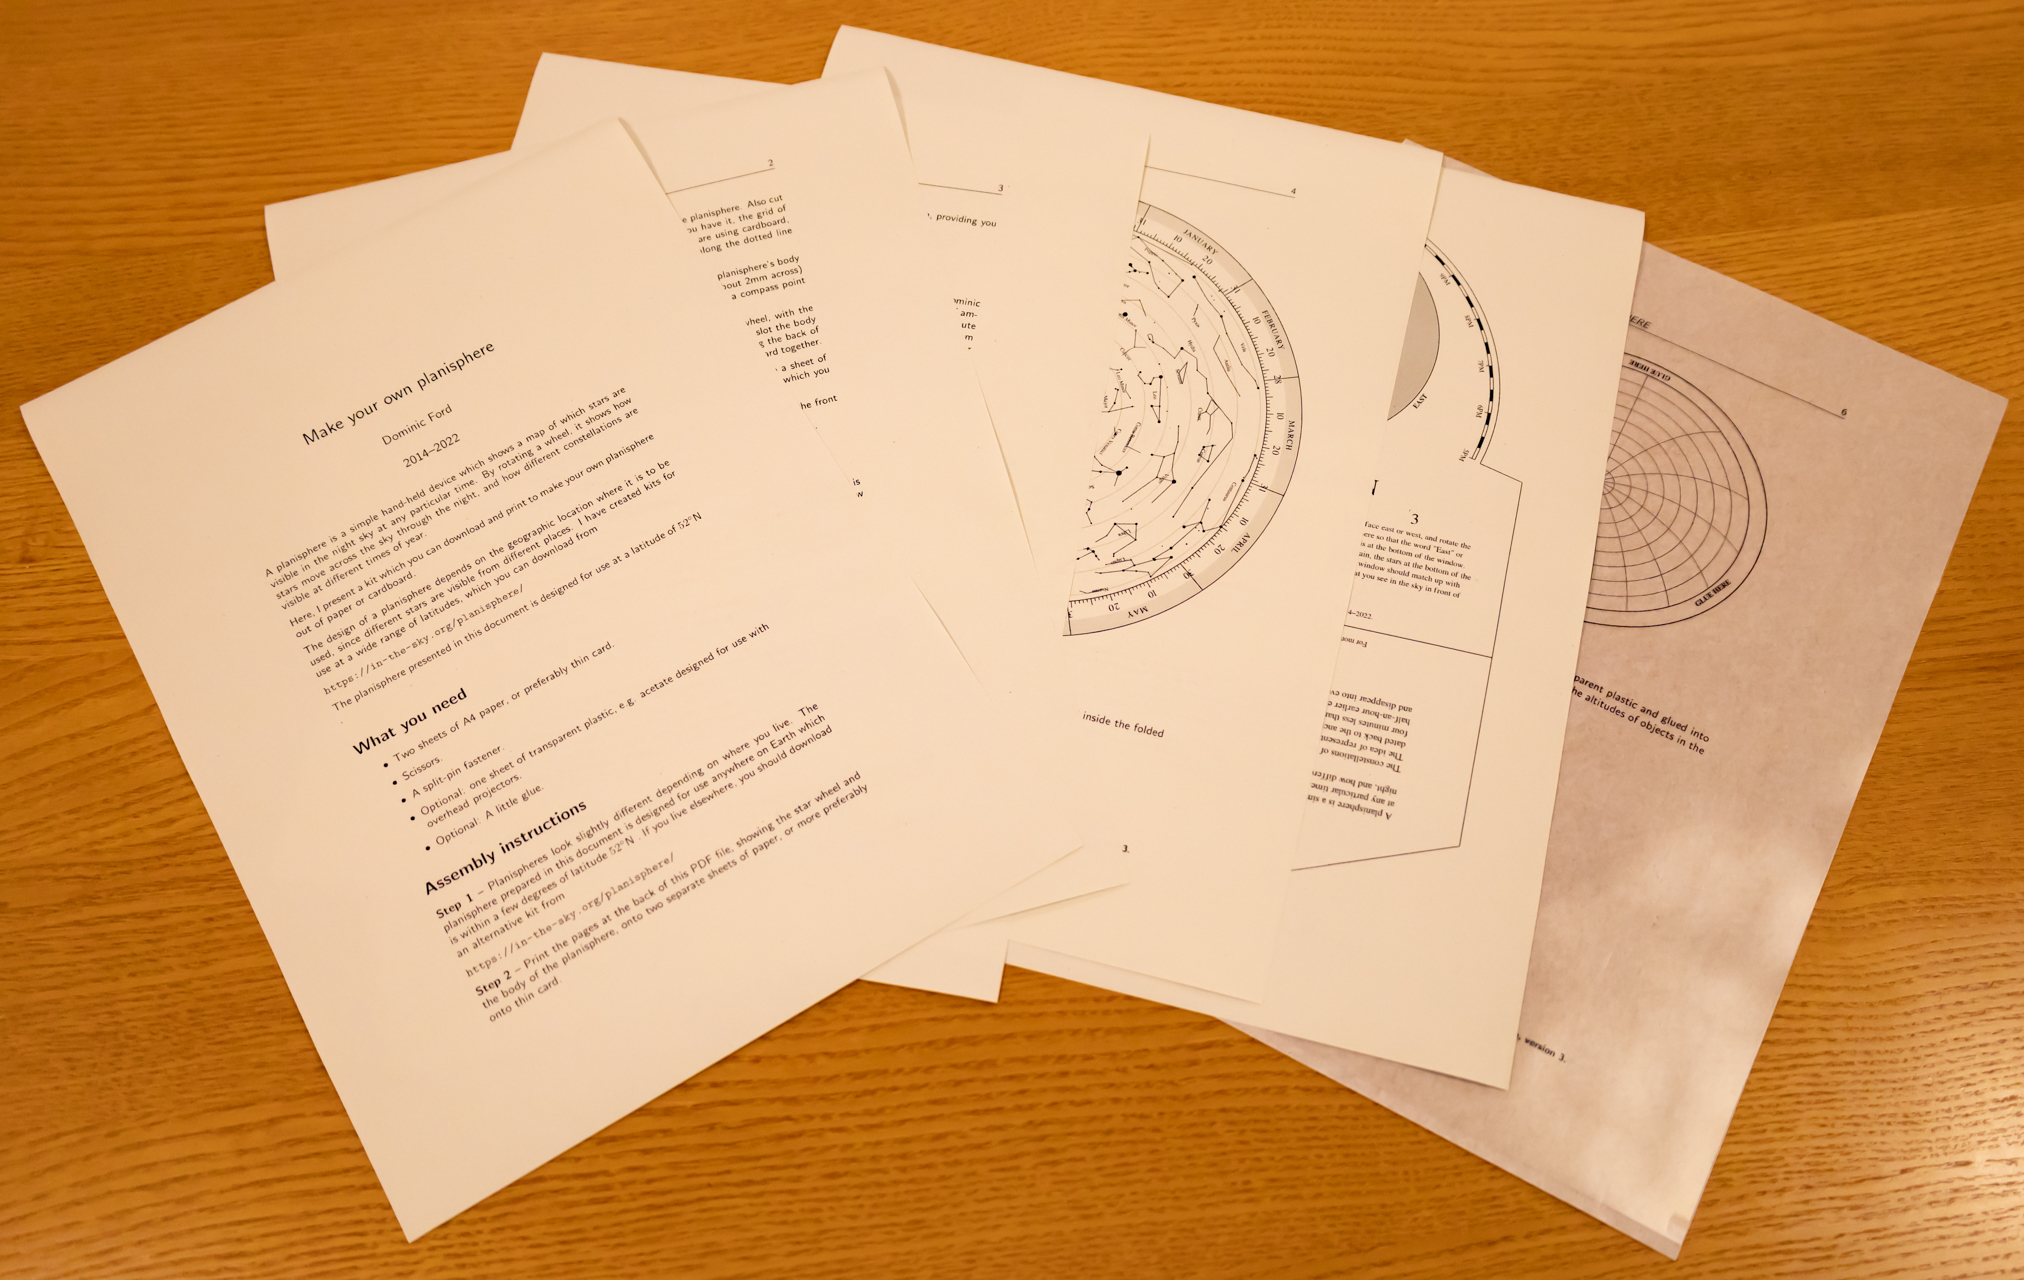
Step 1 – Download a planisphere kit using the form above. You can either download the individual components separately, or as a single PDF file. In order to fit together, the pieces must be printed at the same scale, which is easiest achieved with the single PDF file.
For your present location of Fairfield, we recommend a planisphere designed for latitude 40°N, which you can download here.
Step 2 – Print the star wheel and the body of the planisphere onto two separate sheets of paper, or more preferably onto thin card.
If you have any transparent plastic to hand, e.g. acetate sheets for use on overhead projectors, you should print the altitude/azimuth grid onto a sheet of plastic. If you do not have any acetate to hand, don't worry – your planisphere will work fine without it!
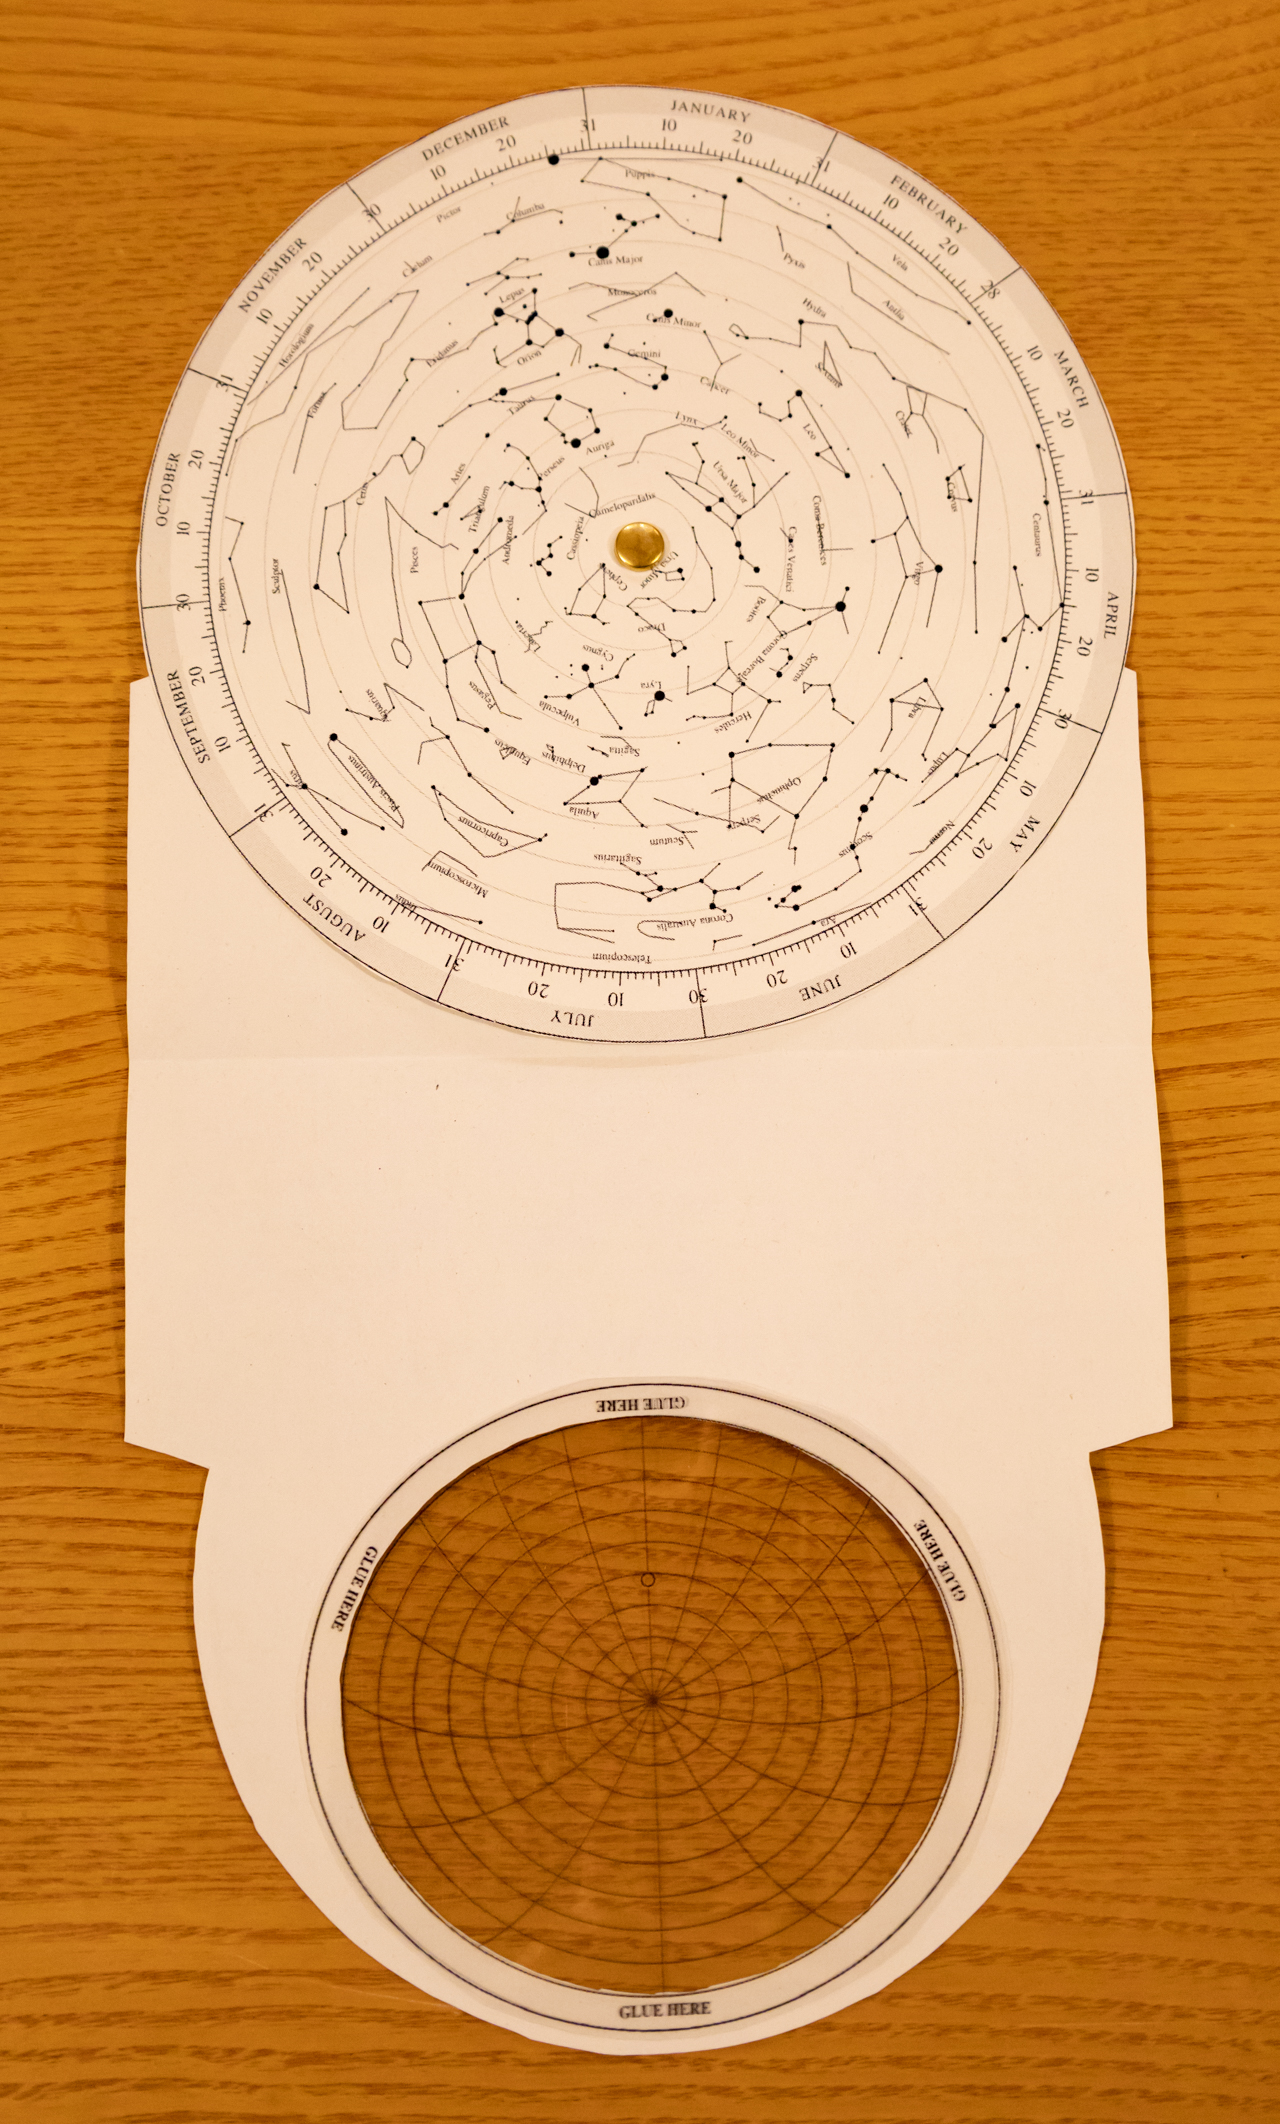
Step 3 – Carefully cut out the star wheel and the body of the planisphere. Also cut out the shaded grey area of the planisphere's body, and if you have it, the grid of lines which you have printed onto transparent plastic. If you are using cardboard, you may wish to carefully score the body of the planisphere along the dotted line to make it easier to fold it along this line later.
Step 4 – The star wheel has a small circle at its center, and the planisphere's body has a matching small circle at the bottom. Make a small hole (about 2mm across) in each. If you have a paper drill to hand, these are ideal, but otherwise you can use a compass point and enlarge the hole until it is around 2mm across by turning the point in a circular motion.
Step 5 – Slot a split-pin fastener through the middle of the star wheel, with the head of the fastener against the printed side of the star wheel. Then slot the body of the planisphere onto the same fastener, with the printed side facing the back of the fastener. Fold the fastener down to secure the two sheets of cardboard together.
Step 6 (Optional) – If you printed the altitude/azimuth grid onto a sheet of plastic, you should now stick this grid of lines over the viewing window which you cut out from the body of the planisphere.
Step 7 – Fold the body of the planisphere along the dotted line, so that the front of the star wheel shows through the window which you cut in the body.
Congratulations, your planisphere is now ready for use!
How to use your planisphere
Turn the star wheel until you find the point around its edge where today's date is marked, and line this point up with the current time. The viewing window now shows all of the constellations that are visible in the sky.
Go outside and face north. Holding the planisphere up to the sky, the stars marked at the bottom of the viewing window should match up with those that you see in the sky in front of you.
Turn to face east or west, and rotate the planisphere so that the word "East" or "West" is at the bottom of the window. Once again, the stars at the bottom of the viewing window should match up with those that you see in the sky in front of you.
If you printed the grid of altitude and azimuth lines onto transparent plastic, these lines let you work out how high objects will appear in the sky, and in which direction. The circles are drawn at altitudes of 10, 20, 30, ..., 80 degrees above the horizon. For reference, a distance of ten degrees roughly equates to a hand-span at arm's length. The curved lines are vertical lines connecting points on the horizon up to the point immediately above your head. They are drawn in the cardinal directions S, SSE, SE, ESE, E, etc.
License
Like everything else on this website, these planisphere kits are © Dominic Ford. However, they are provided for the benefit of amateur astronomers worldwide, and you are welcome to modify and/or redistribute any of the material on this website, under the following conditions: (1) Any item that has an associated copyright text must include that unmodified text in your redistributed version, (2) You must credit me, Dominic Ford, as the original author and copyright holder, (3) You may not derive any profit from your reproduction of material on this website, unless you are a registered charity whose express aim is the advancement of astronomical science, or you have the written permission of the author.